Date Climbed: April 17, 2023
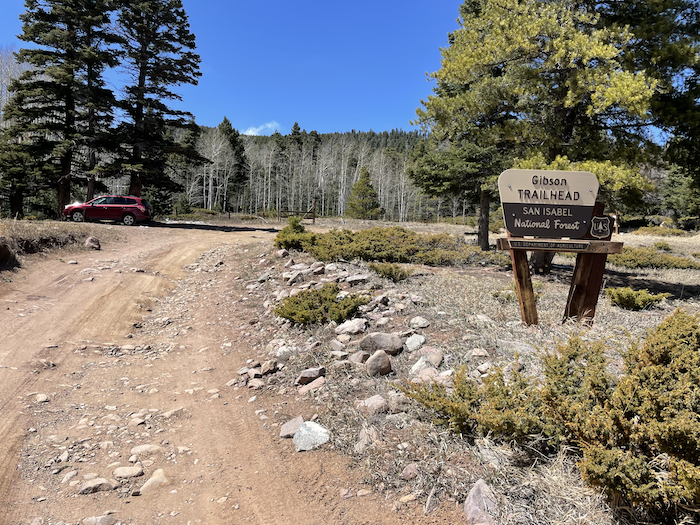
Trailhead: Gibson Creek Trailhead
Trailhead Access: High Clearance (2wd TH only .3 miles away).
Spread Eagle peak is a 13er in the Sangre de Cristo range sort of close to the Crestone group. It’s 13,436′ tall and like Marble Mountain, is a good winter/early spring 13er because it has a low angle route on it.
However, it’s not nearly as popular as Marble Mountain so the winter route is not as clearly defined, and you probably won’t have the luxury of someone else stamping down a hard-packed trail for you. Some bushwhacking will likely be necessary to summit Spread Eagle Peak (at least it was for us).
The plan was to camp overnight at the Gibson Creek trailhead and start at 6:00am to give us plenty of daylight in case there was post-holing and bushwhacking to slow us down.
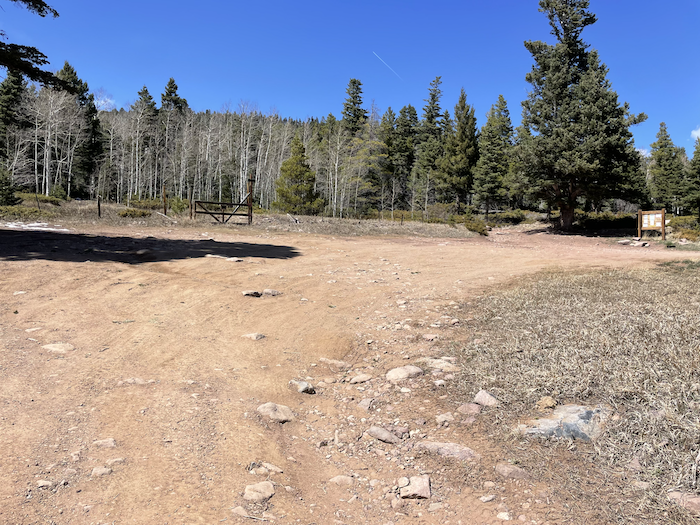
Fortunately, the trailhead is a fairly big parking lot with a few areas that are perfect for setting up a tent, and you’re actually allowed to dispersed camp there.
We set out early in the morning and started up the Gibson trail, which at the very beginning is open to ATVs and motorbikes. But not far up the trail (perhaps a few blocks) there’s a junction where you can turn right and head up to Lake of the Clouds or, in our case, continue straight.
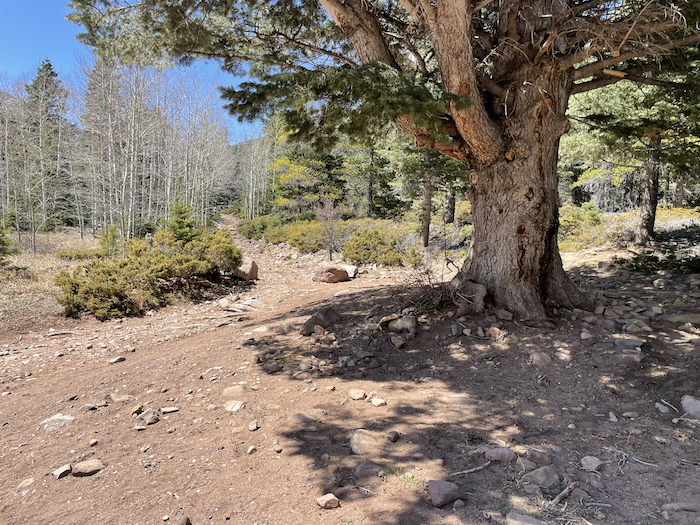
Now I’m not entirely sure if the trail we went straight up on has a name or not because the sign at the junction was destroyed and only partially readable, but it’s a decently defined trail that follows Gibson Creek. It doesn’t last long, though, before veering to the right and forcing you to bushwhack.

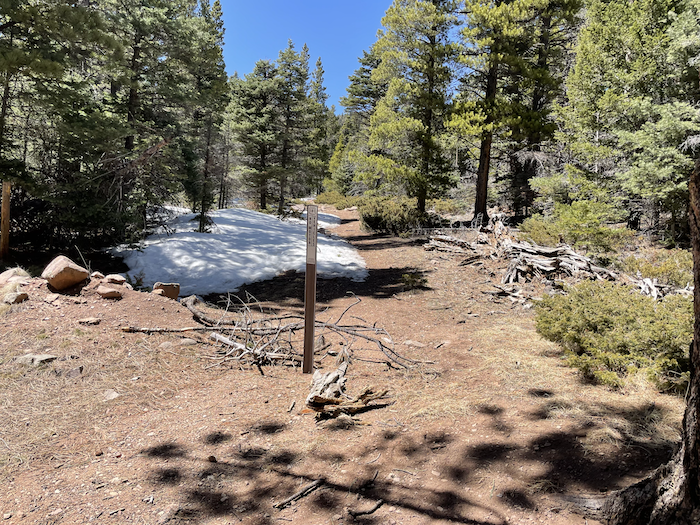

From there we crossed Gibson Creek and went south until we ran into another sort of well-defined trail covered in snow. We took this trail southwest for less than half a mile before making a hard left and going southeast straight up the slope in an attempt to gain the ridge.

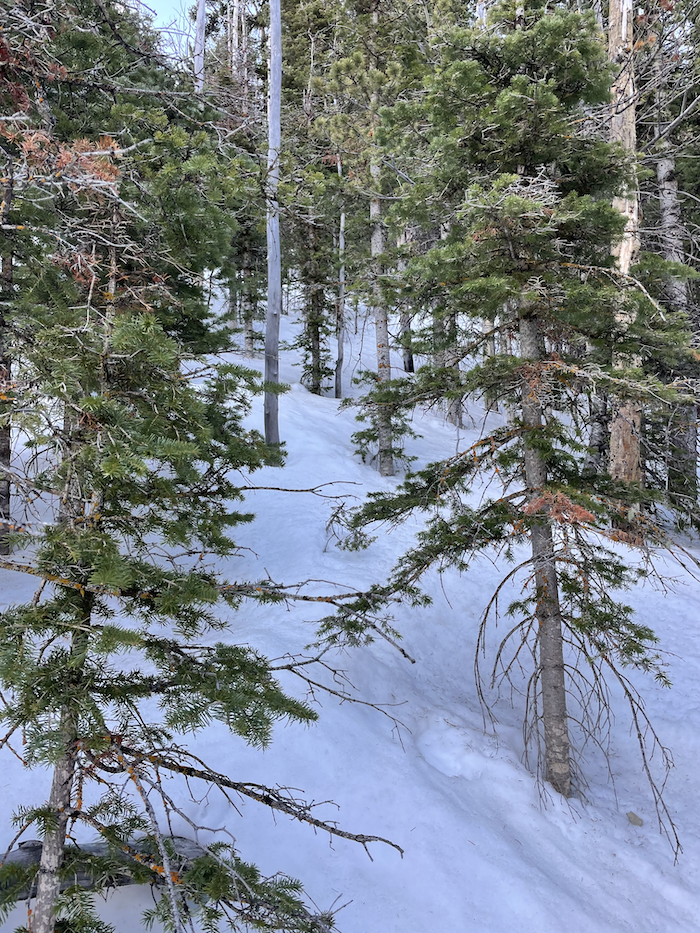
We chose that slope based on the fairly low slope angle we could surmise using the slope angle tools on my maps app, trying to avoid slopes over 30 degrees. The avy risk for the day was announced as low according to the CAIC, but neither of us are well educated in avalanche risk assessment so we agreed that eliminating as much risk as we could was best.
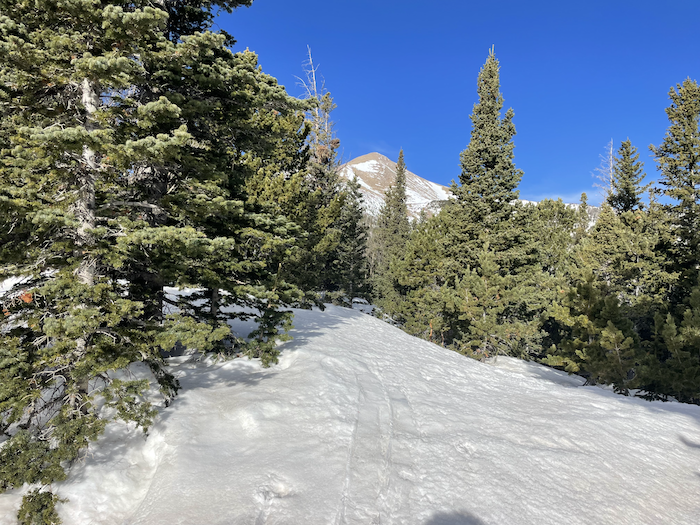
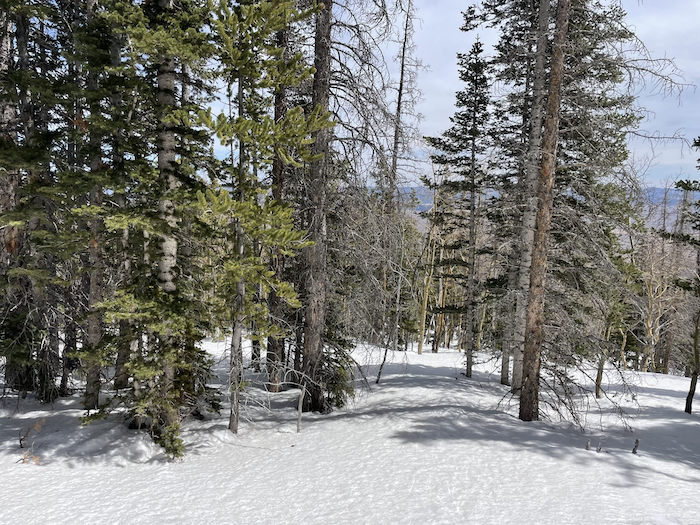
There actually wasn’t too much bushwhacking up this steep slope – we could largely weave through the trees and avoid getting snagged. Up until this point the snow was hardened enough that we could walk on top of it in just our boots, but I knew this would not be the case later in the day when the temps rose.
After gaining the ridge the snow stiffness changed drastically and we started post-holing immediately so we strapped on our snowshoes. Fortunately those gave us enough float to walk on top of the snow again, saving enormous amounts of time and energy not having to excavate a path.

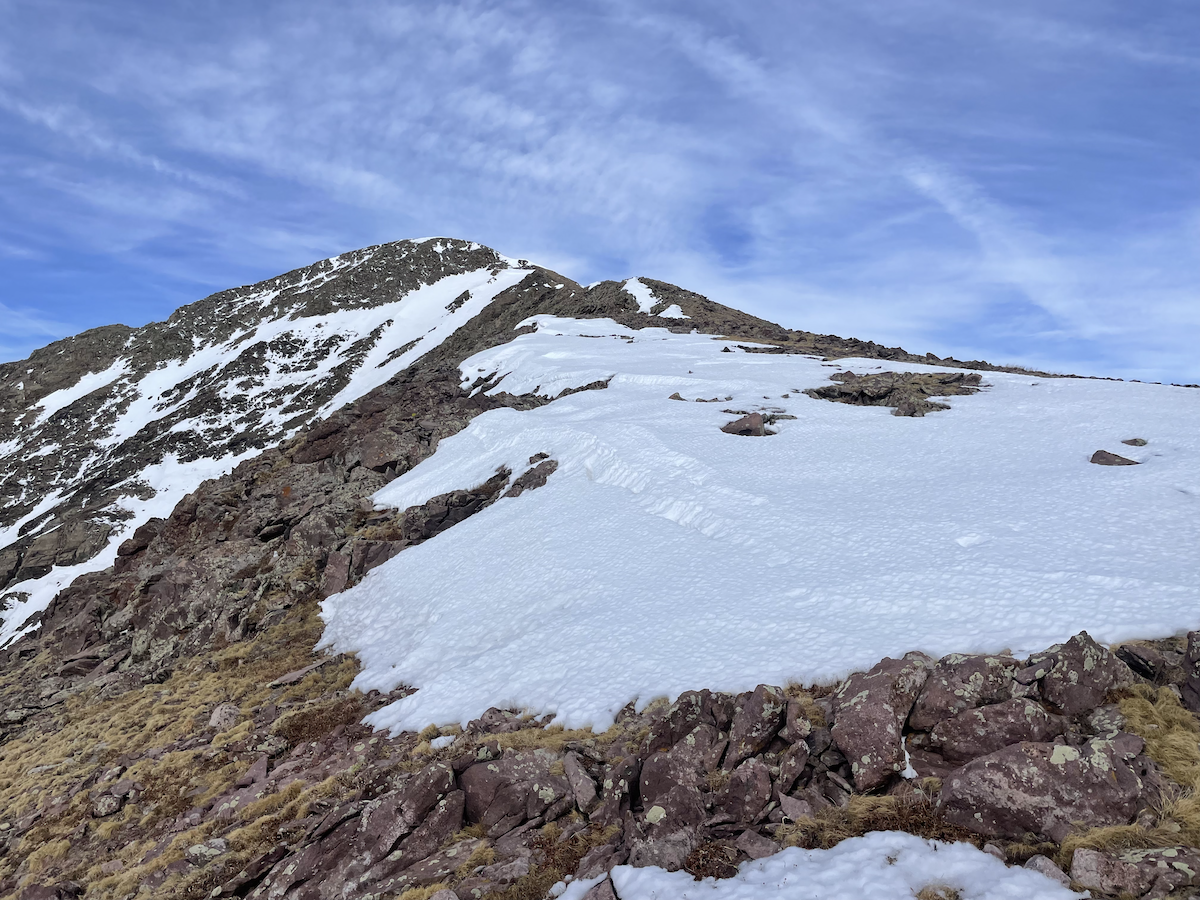
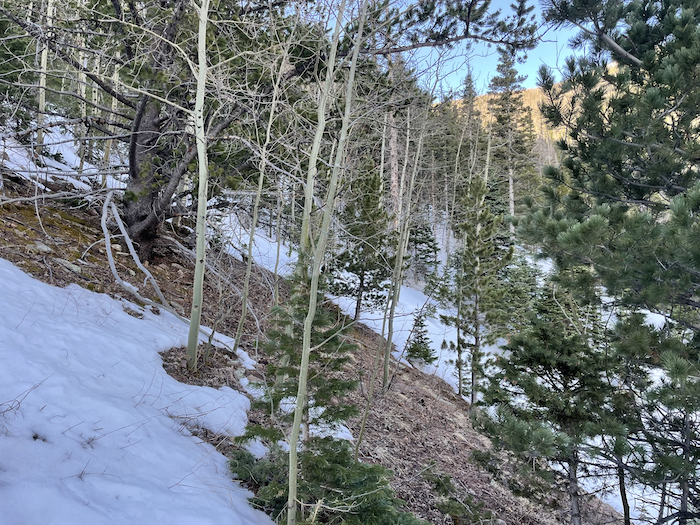
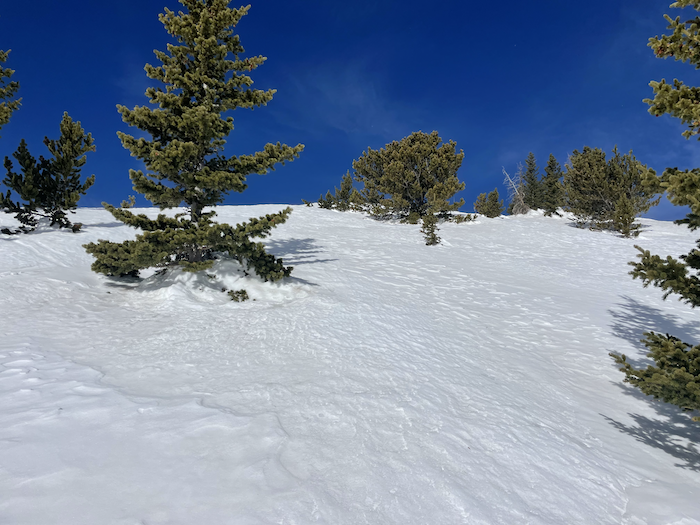
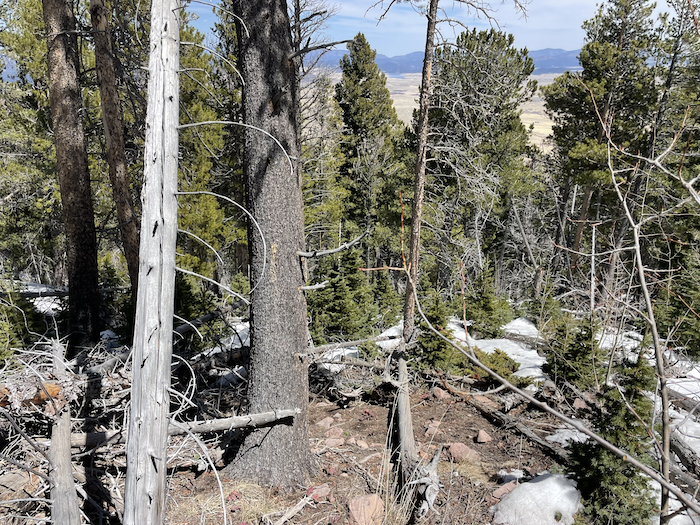
Once on the ridge it’s fairly apparent where the ridge is and how to stay on it. And a lot of the hard work for the day was done in this ridge section before we hit treeline as we climbed several relentless steep slopes (none greater than 30 degrees though). Again, we were lucky the bushwhacking was minimal here and we could weave our way through gaps in the trees and brush.


At treeline we ditched our snowshoes as there was hardly any snow up there. However it was quite windy as it usually is in this range at this time of year, so we donned our hardshells for the final summit push.
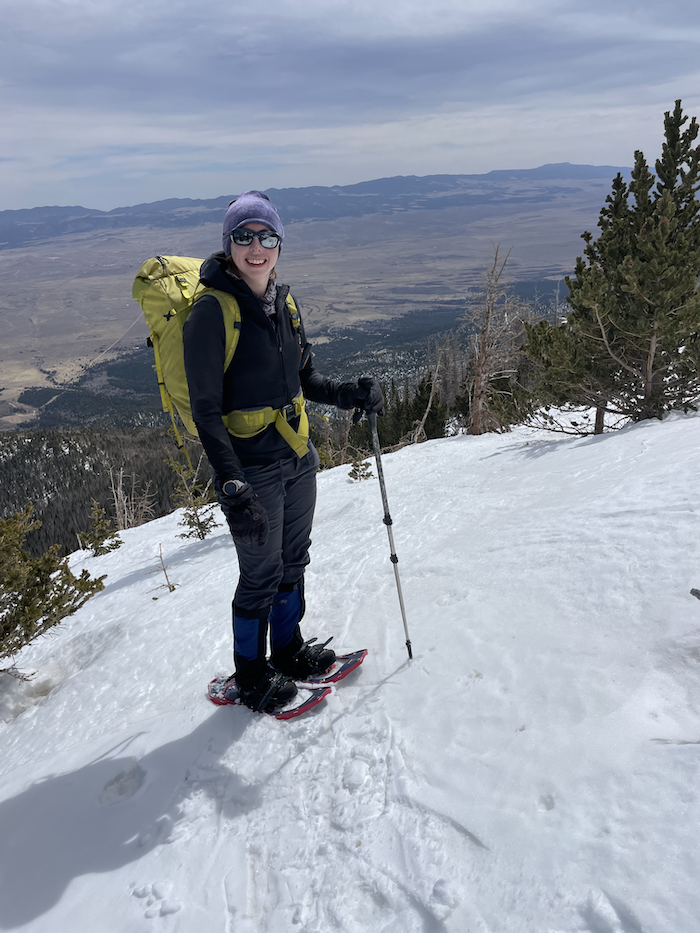
Weirdly, the last few rises above treeline felt relatively easy and the summit came faster than expected. It’s pretty much a walk-up, class 1 I’d call it.


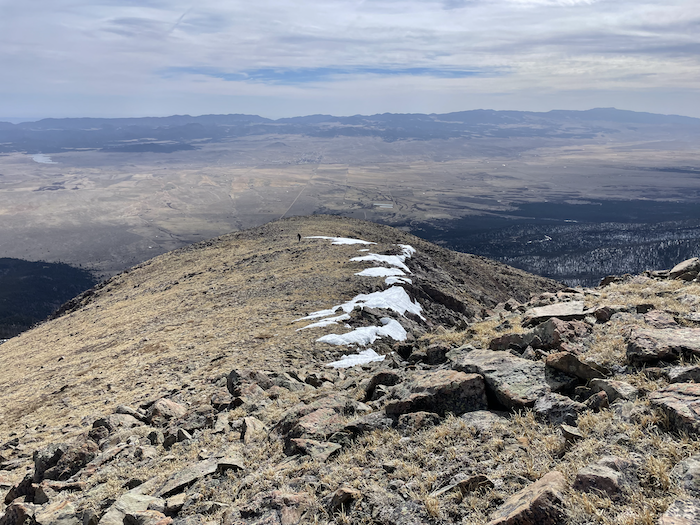

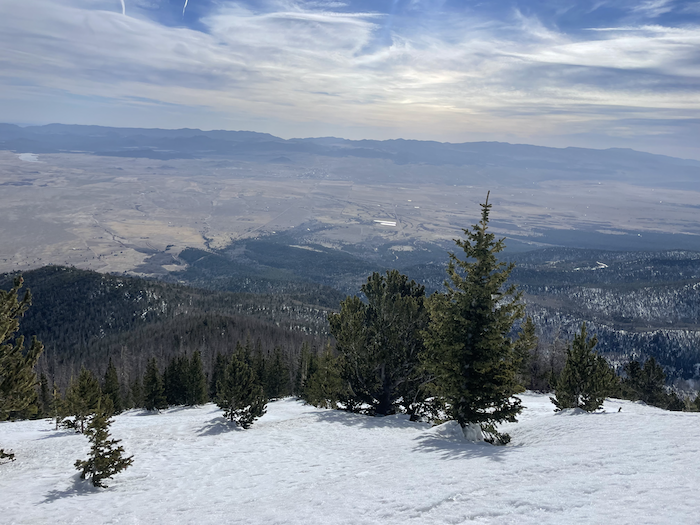
At the summit you get a lovely view of the surrounding 13ers and the crestones off in the distance. Looking north down into the basin you can see the Lake of the Clouds. I’ve already started plotting a backpacking trip to camp at these beautiful lakes and bag some of the 13ers that rise above it. Perhaps Peak of the Clouds and “Silver Peak”, both of which are ranked.
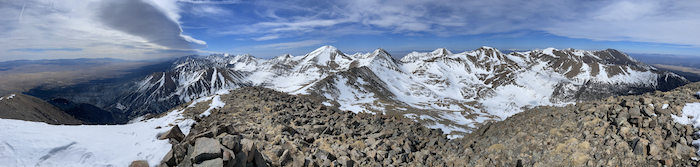
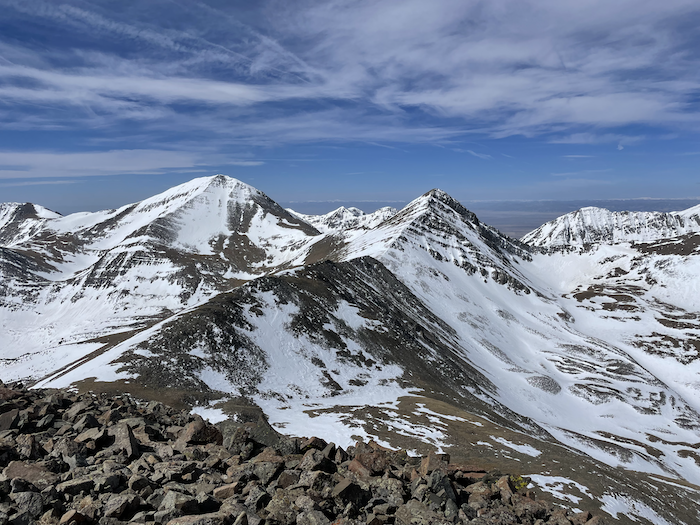
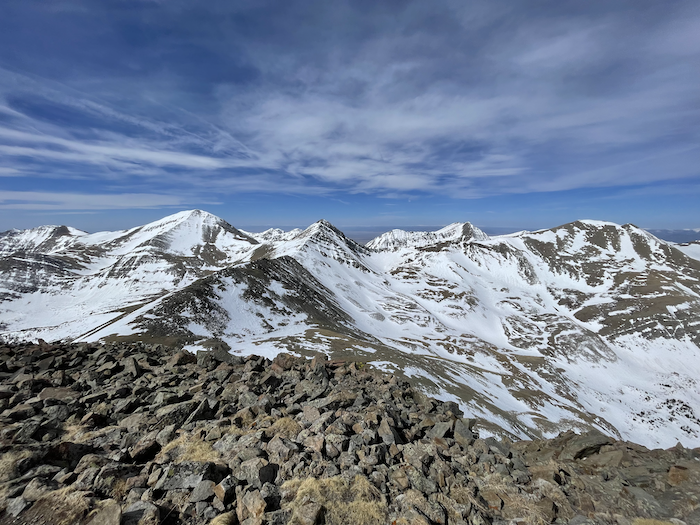

Looking west you can see the connecting ridge to Peak of the Clouds. It didn’t look like too challenging of a push but the ridge up to the peak had a few mandatory snow patches and our stoke simply wasn’t high enough for that. I do think this would be an awesome traverse to get the second peak for anyone feeling more energetic than us.
After enjoying the views and sunlight, we started back down. The descent was quite easy and straightforward… until it wasn’t, of course. The snow had softened up a bit with the warmth of the day, as we anticipated, and we were slush sliding in some places, but that wasn’t the problematic part.
We decided that instead of going down the exact way we had come up, we’d instead take the ridge all the way down to make the descent as low-angle as possible. Of course as soon as we entered the lower part of the ridge we hadn’t come up, we began post-holing in our snowshoes. And this wasn’t the light, fluffy winter snow, this was heavy, wet spring snow. So extracting one’s snowshoe from the post hole required significantly more energy.
And to add to that our tree weaving luck had run out. Lower down on the ridge the trees and brush get much denser, making our post-holing and bushwhacking with big duck feet an entirely new adventure.
Eventually we wisened up and just accepted the fact that we were going to post hole no matter what and took off our snowshoes. Then, at least, we could navigate the dense brush easier and plunge step down.
I’m not sure I’d recommend taking this lower ridge section unless you really wanted to cut avy risk even more than ascending/descending the north slopes. But is it really a 13er adventure if you don’t have a bunch of twigs sticking out of you by the end?
Once off the ridge it’s only a few hundred feet back to the trail, and then it’s express lane to the finish line.
Overall, the route up Spread Eagle is pretty similar to Marble Mountain (they are just a few doors down in the same range, after all), with the exception of their popularity. As a result, Spread Eagle likely won’t have a nice packed down trail by the time you do it.
Camping
If you choose to camp like we did, I highly recommend just setting up near the Gibson TH parking lot. There are great dispersed spots already trampled down.
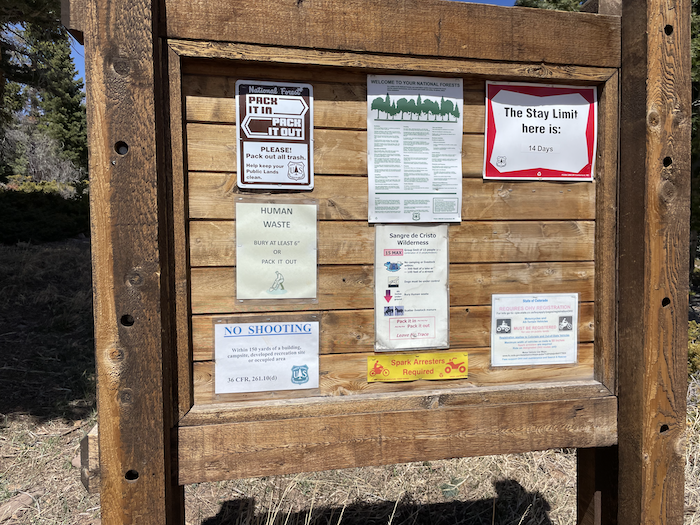
The sign says you can stay up to 14 days, if you so choose.
I didn’t see any obvious dispersed spots for backpacking along our route, but that’s not to say they might have been covered in snow. I could see some improvised spots, too.
Getting There
Gibson trailhead is west of Westcliffe. When you depart from Westcliffe heading towards the trailhead you’ll take a serious of backroads, starting on Hermit Road. Take Hermit road for about 6.7 miles until it turns into Sampson Ridge Road. Continue another 1.6 miles until it turns into N. Taylor Rd. Only another 0.6 miles on that road will take you straight to the trailhead.
Now the road the trailhead itself is arguably a bit rougher than 2WD recommended. I could certainly see someone with some know-how and bravery to get a 2WD car there, but a higher clearance vehicle like a Crosstrek is more recommended.
Either way it’s not a big deal because the rougher patch of road only lasts about 500ft to the Gibson Creek Trailhead. Before that there’s a nice lot to park your 2WD car, so you can just easily park and walk the rest of the way.
In the winter I’ve been told that last 500ft is sometimes inaccessible.